

iPhone 6/6S/6P/6SP Battery Replacement Disassembly Tutorial
First preparing the disassemble tool: screwdriver, suction cup, crowbar, pick and other tools
Step 1: shut down
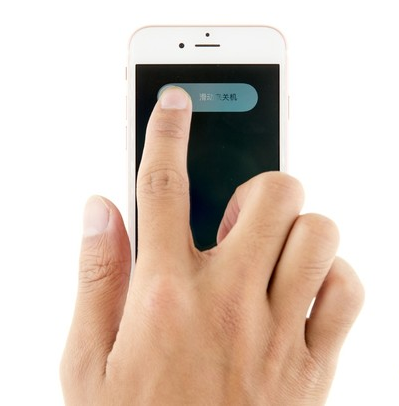
Step 2: Removing the bottom screw
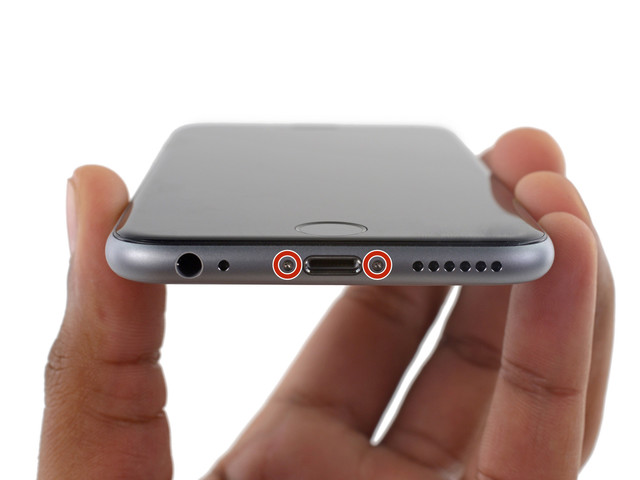
Removing the two 3.6mm Phillips screws on both sides of the Lightning data connector
Step 3: Opening the screen
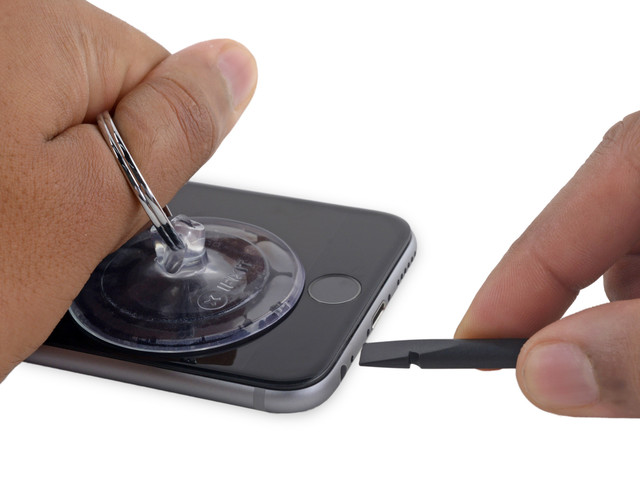
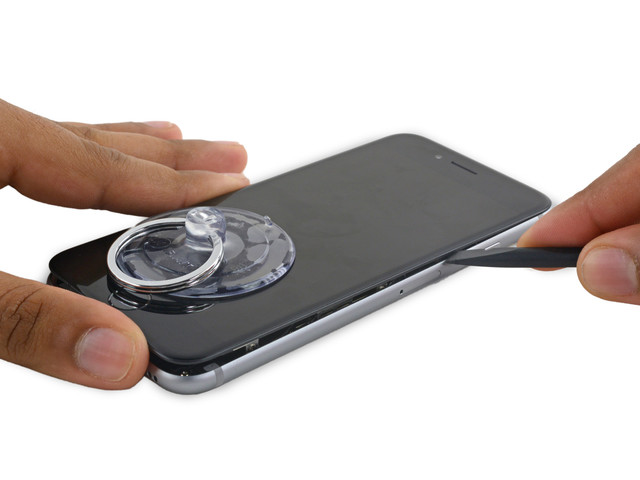
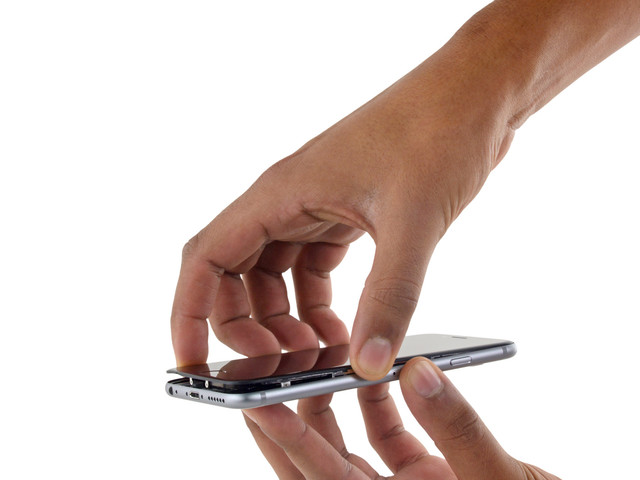
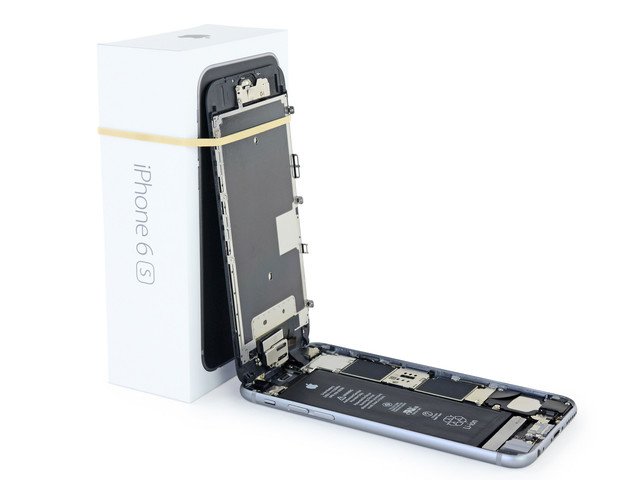
As there has adhesive fixed around the screen and body, so it takes a little longer to disassemble it. Place the suction cup in the bottom left corner of the screen and do not overlap with the Home button; Pulling the suction cup (need to control the force) until there is a gap, then inserting the stick to separate the adhesive from the body slowly. After the adhesive is separated, use the top of the screen as the fulcrum to lift the screen up slowly, but do not exceed 90 degrees, because the top of the screen is also connected with the winding displacement cable,the cable may be damaged easily due to the oversized opening angle.
Step 4: Disconnecting the battery cable
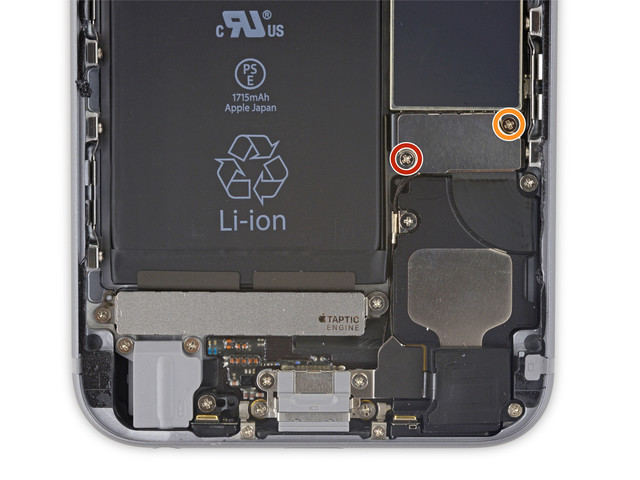
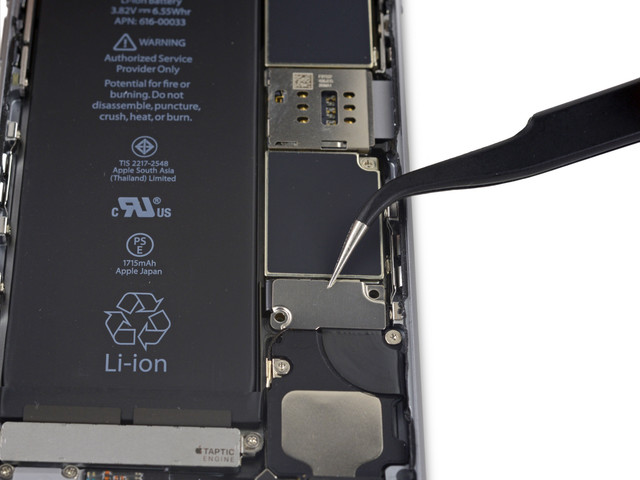
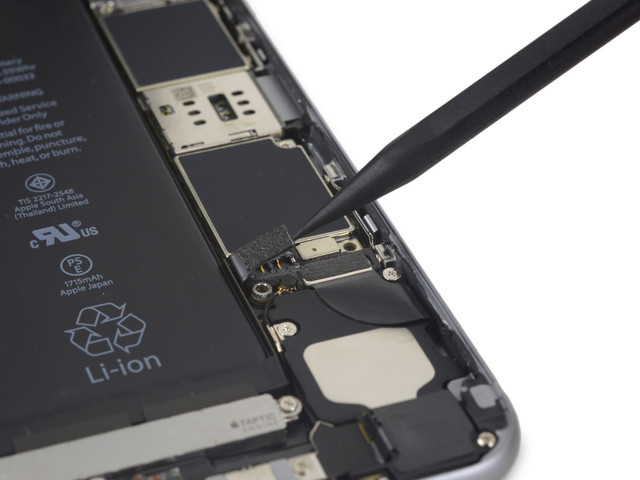
Removing the two screws on the fixed battery cable and metal fixing plate. The two screws have different lengths and you need to remember the corresponding position, then removing the metal fixing plate of the battery connector. Finally using the crowbar or nail to disconnect the battery line.
Step 5: Removing the battery
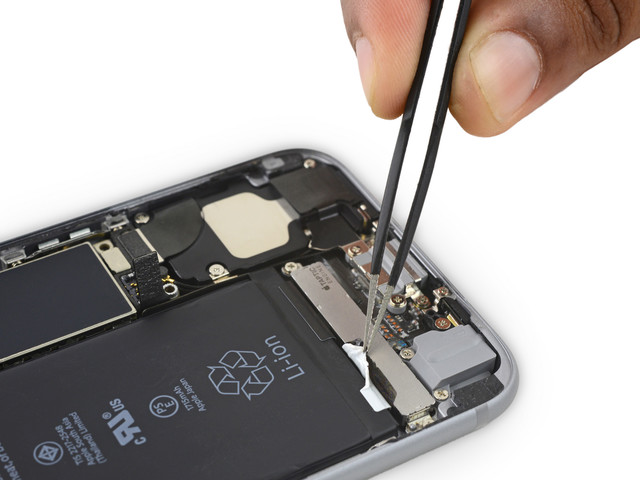
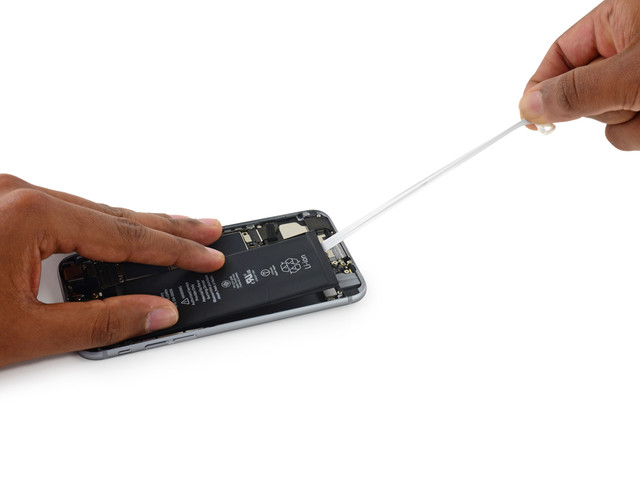
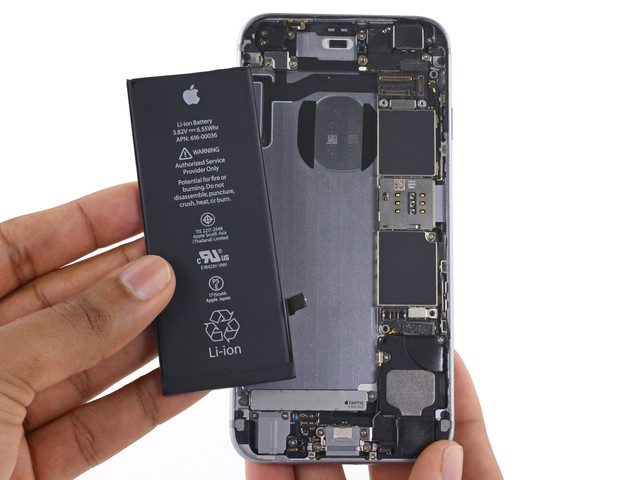
Using tweezers or fingers to take off the two pull-tab stickers on the bottom of the battery. It must be careful to remove the battery as piercing the lithium-polymer battery will lead to dangerous chemical reactions. When pulling the rubber (which is easy to break), try to keep the horizontal direction and the steady force until the tape is completely pulled out from the battery and the back cover; The other one can be operated repeatly. If the tape is broken, use a hair dryer to heat the back of the fuselage and then remove the battery.
Step 6: Sticking adhesive
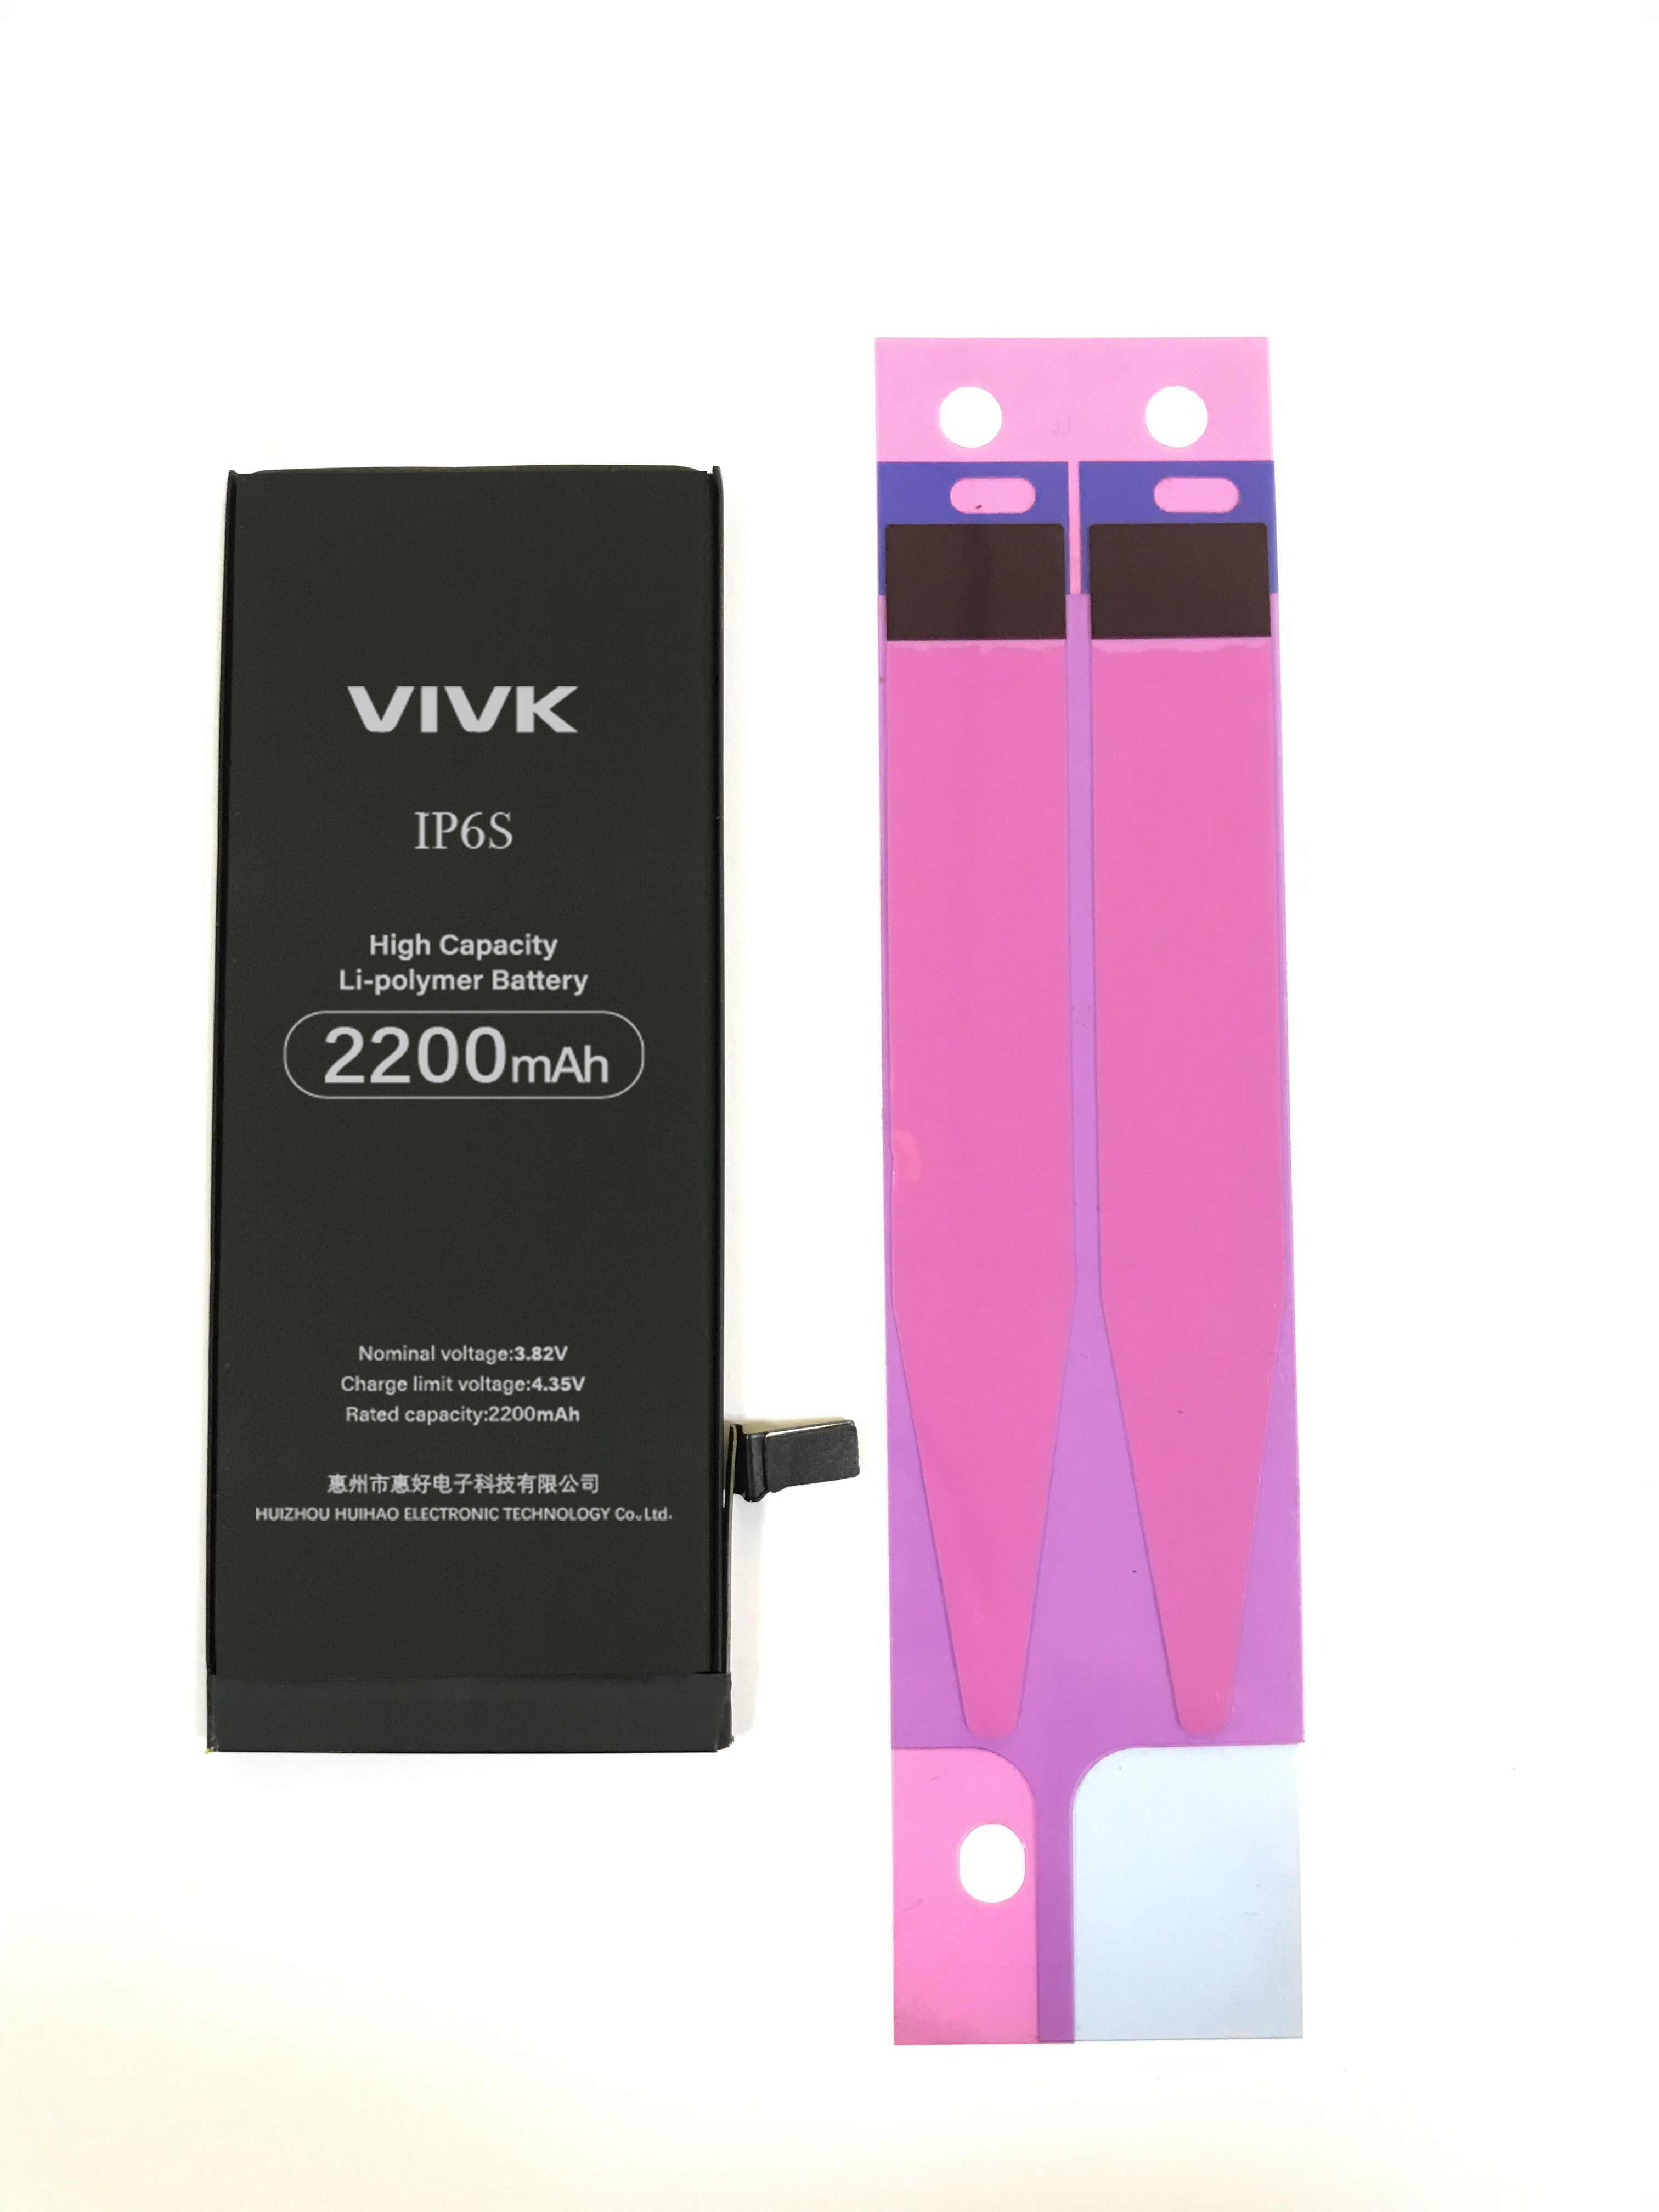
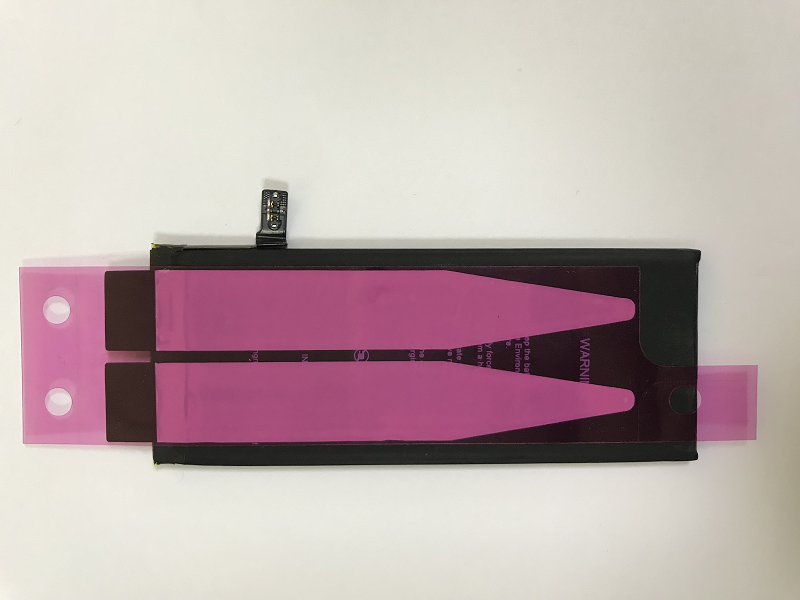
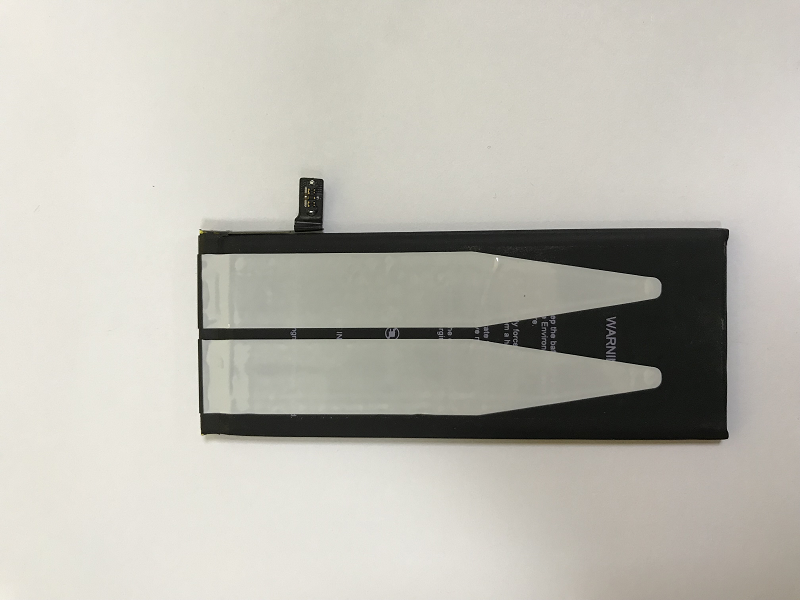
Pasting the easy-to-wear adhesive in the back of the battery because there is a gap between the battery and the rear case. If it is not fixed, the battery will shake inside the body, which may cause unnecessary problems.
Step 7: Installing the battery
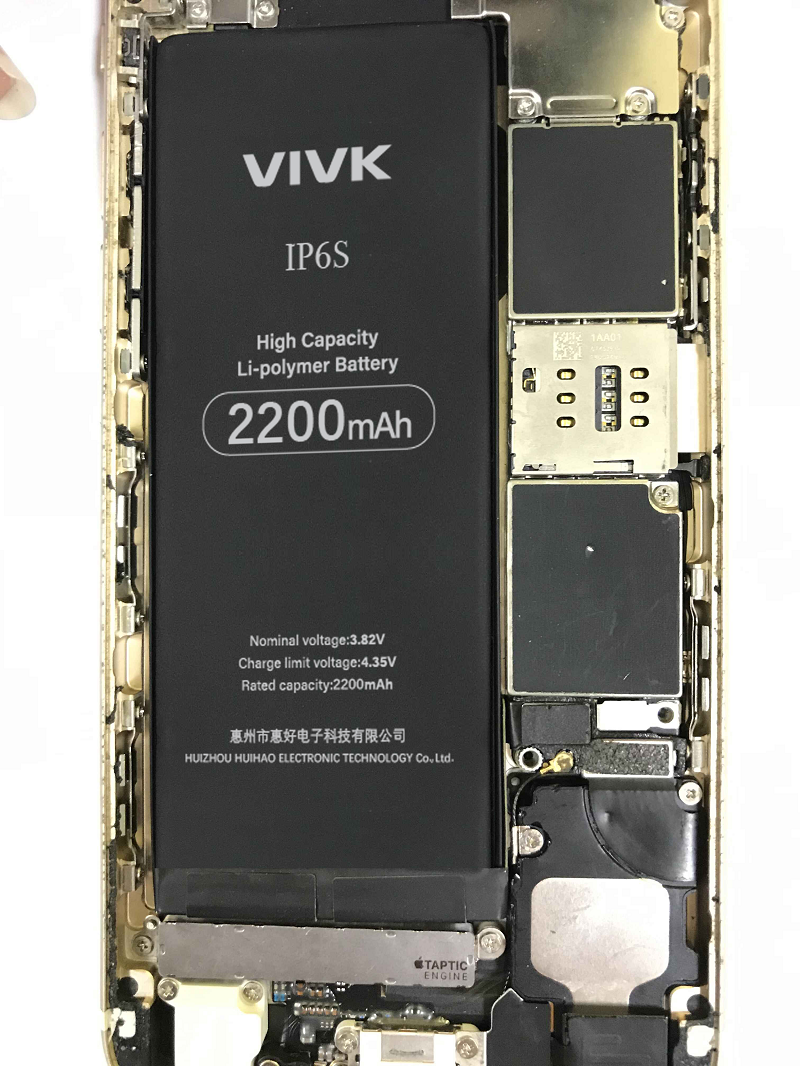
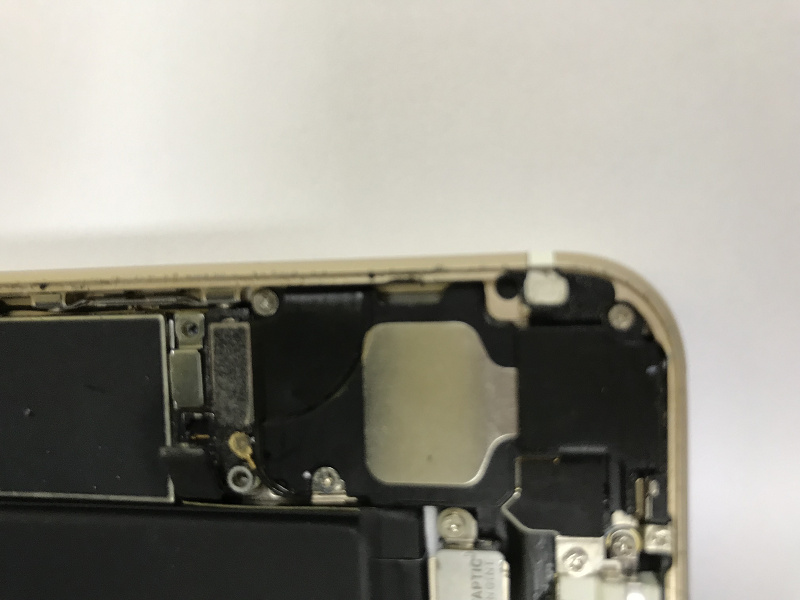
You can connect the battery winding displacement cable to the motherboard first, then place the battery. After that, please remember to disconnect the power cable first and then proceed to the next step.
Step 8: Resetting the battery cable
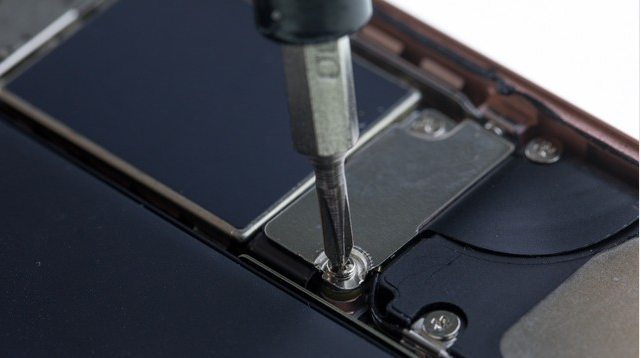
Connecting the battery cable to the motherboard and installing the metal mounting plate and screws (mind the length).
Step 9: Installing the screws on both sides of the Lightning data interface
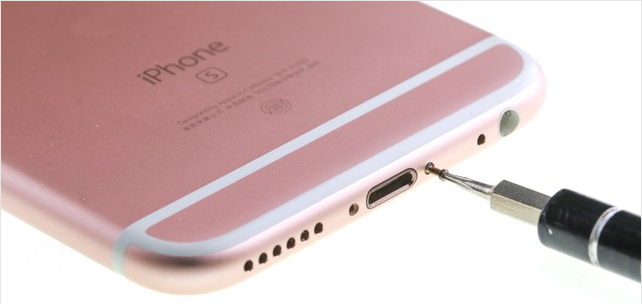
Closing the screen to the body and screwing on the screws on both sides of the Lightning data port.
Step 10: Checking the phone is running normally or not.
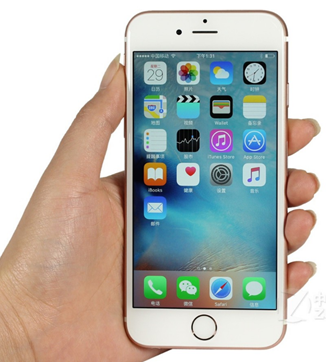
Checking whether the battery health is 100% and the phone charging is normal or not after booting.